TDD with Karma and Jasmine
Karma is a type of test runner that creates a server, and then spins up tests in various browsers using data derived from that fake server.
Karma is only a test runner, and requires a testing framework such as Jasmine to plug into it in order to actually run tests.
Installation
Karma runs on Node.js and requires Node.js with NPM to be installed prior to installing Karma. Installing Node.js and updating npm
The recommended approach is to install Karma as an NPM package locally in the project’s directory:
# Install Karma:
$ npm install karma --save-dev

# Install plugins that your project needs:
$ npm install karma-jasmine karma-chrome-launcher jasmine-core --save-dev
This will install karma, karma-jasmine, karma-chrome-launcher and jasmine-core packages into node_modules in your current working directory and also save these as devDependencies in package.json.
Now any other developer working on the project will only have to do npm install in order to get all these dependencies installed.
# Run Karma:
$ ./node_modules/karma/bin/karma start
Commandline Interface
It can be useful to install karma-cli globally:
$ npm install -g karma-cli
Now instead of writing whole ./node_modules/karma/bin/karma start Karma can be run simply by writing
$ karma
in command line from anywhere and it will always run the local version.
Configuration
In order to serve you well, Karma needs to know about your project in order to test it and this is done via a configuration file.
The configuration file can be generated using karma init filename :
$ karma init my.conf.js
This will open configuration options for e.g. specifying browsers to be checked, source files to run tests on (e.g. *.js , test/*.js), and testing framework - Jasmine is one of the options here.
Starting Karma
When starting Karma, the configuration file path can be passed in as the first argument.
$ karma start my.conf.js
Understanding TDD
TDD stands for for Behaviour-Driven Development.
Here’s TDD in its simpliest form:
- Write your tests
- Watch them fail
- Make them pass
- Refactor
- Repeat
Adding tests
After installing Karma we are provided with a test directory - this is where we should put all our test specs.
Let’s start with the simplest test to see Karma and Jasmin in action.
- Create hello.js in test folder.
- Make sure your test file - hello.js is included in Karma config file. You can open my.conf.js file and add test/hello.js or test/.js or **/.js etc.
For example:
// list of files / patterns to load in the browser files: [ 'test/hello.js' ], - Jasmine tests are primarily two parts: describe blocks and it blocks. Following Jasmine syntax and TDD rules, let’s write a simple test that is going to fail.
describe ("test", function(){ it ("should work", function(){ var test = true; expect(test).toBe(false); }); }); - Karma presents the test results in the specified captured browser (opened when karma start my.conf.js command was run) and in our command line. Right now we should have 1 FAILED TEST:
Executed 1 of 1 (1 FAILED) ERROR
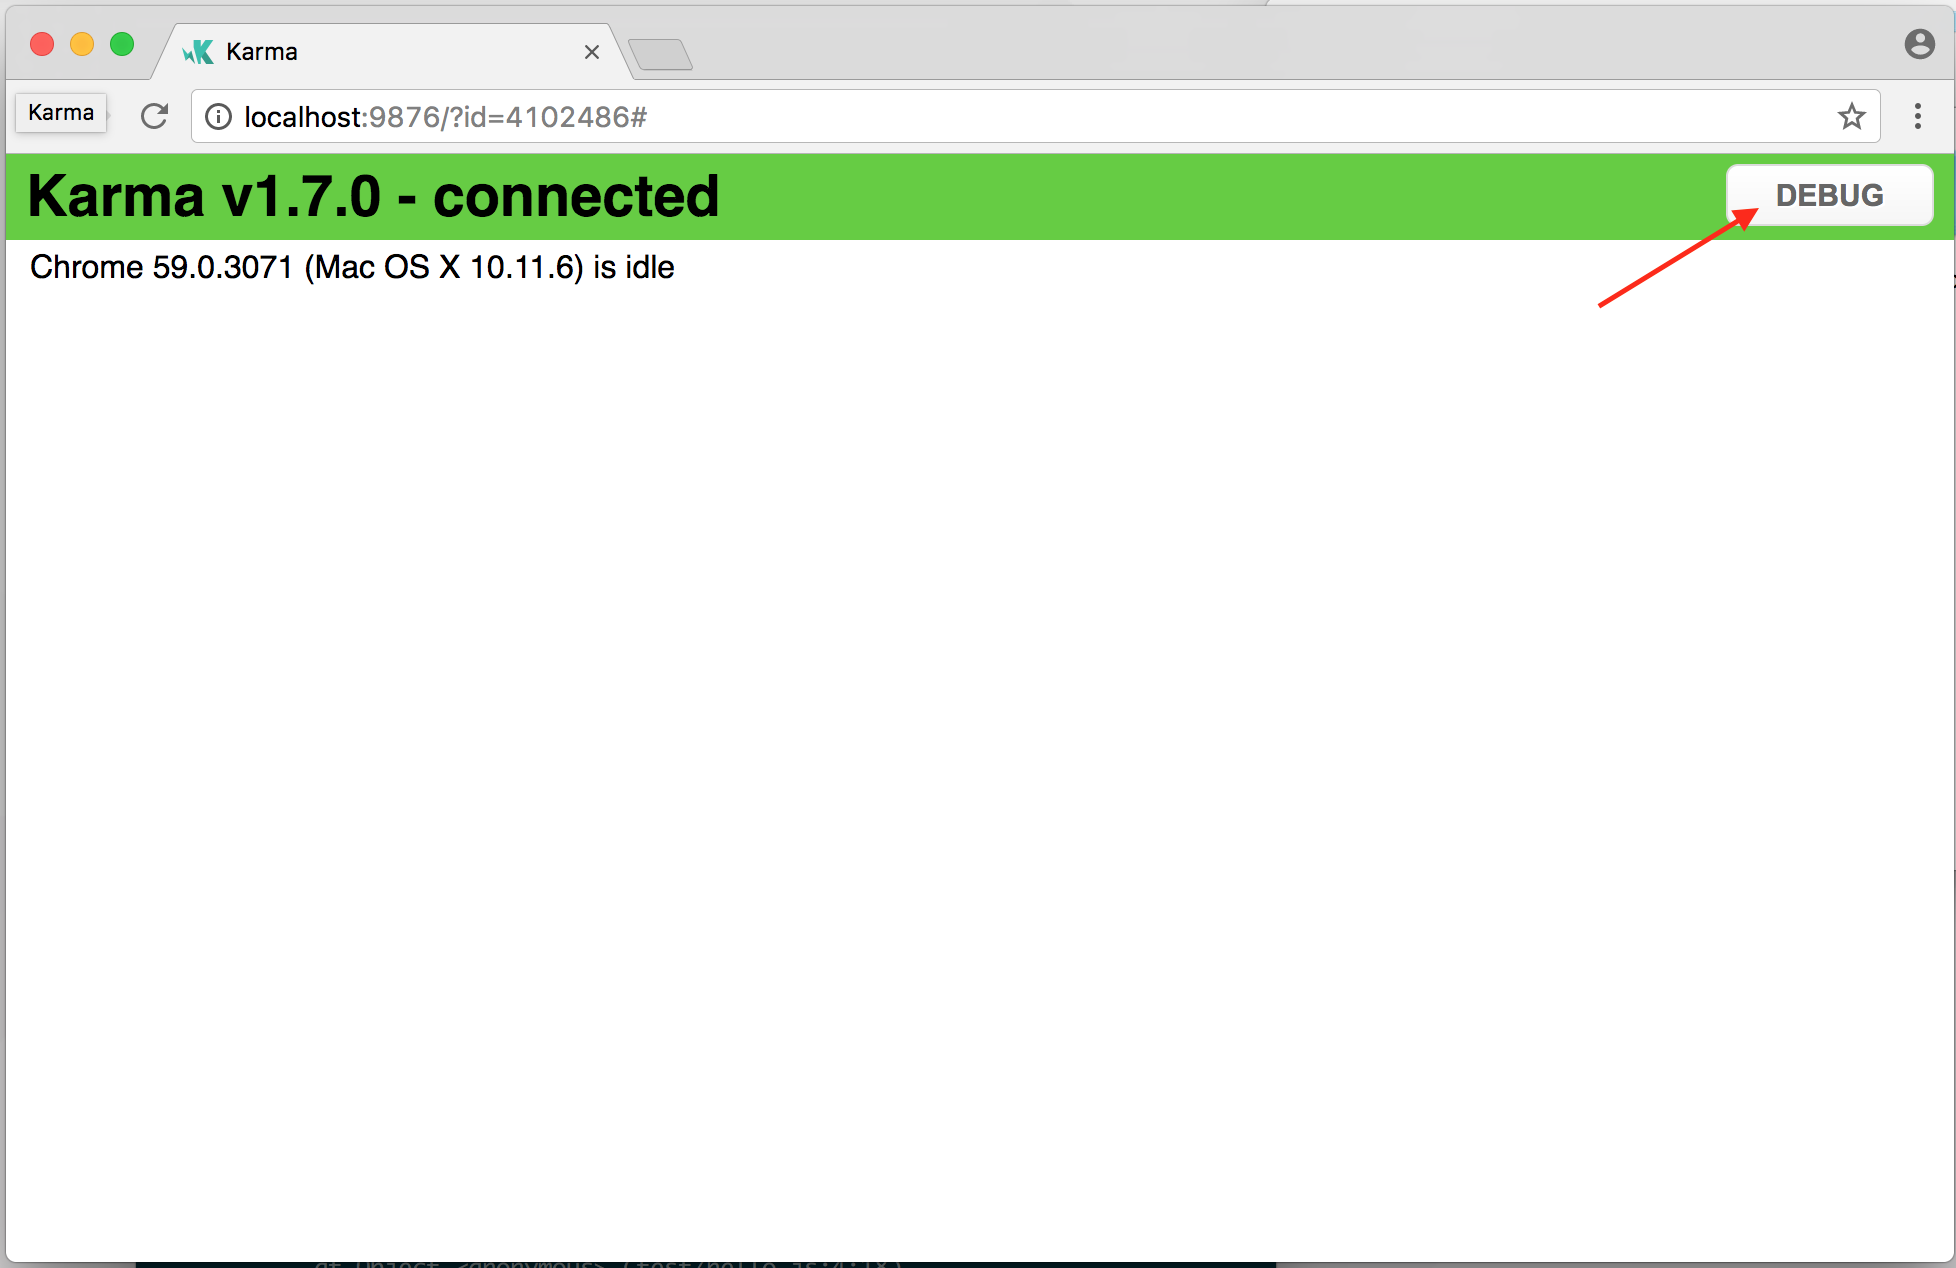
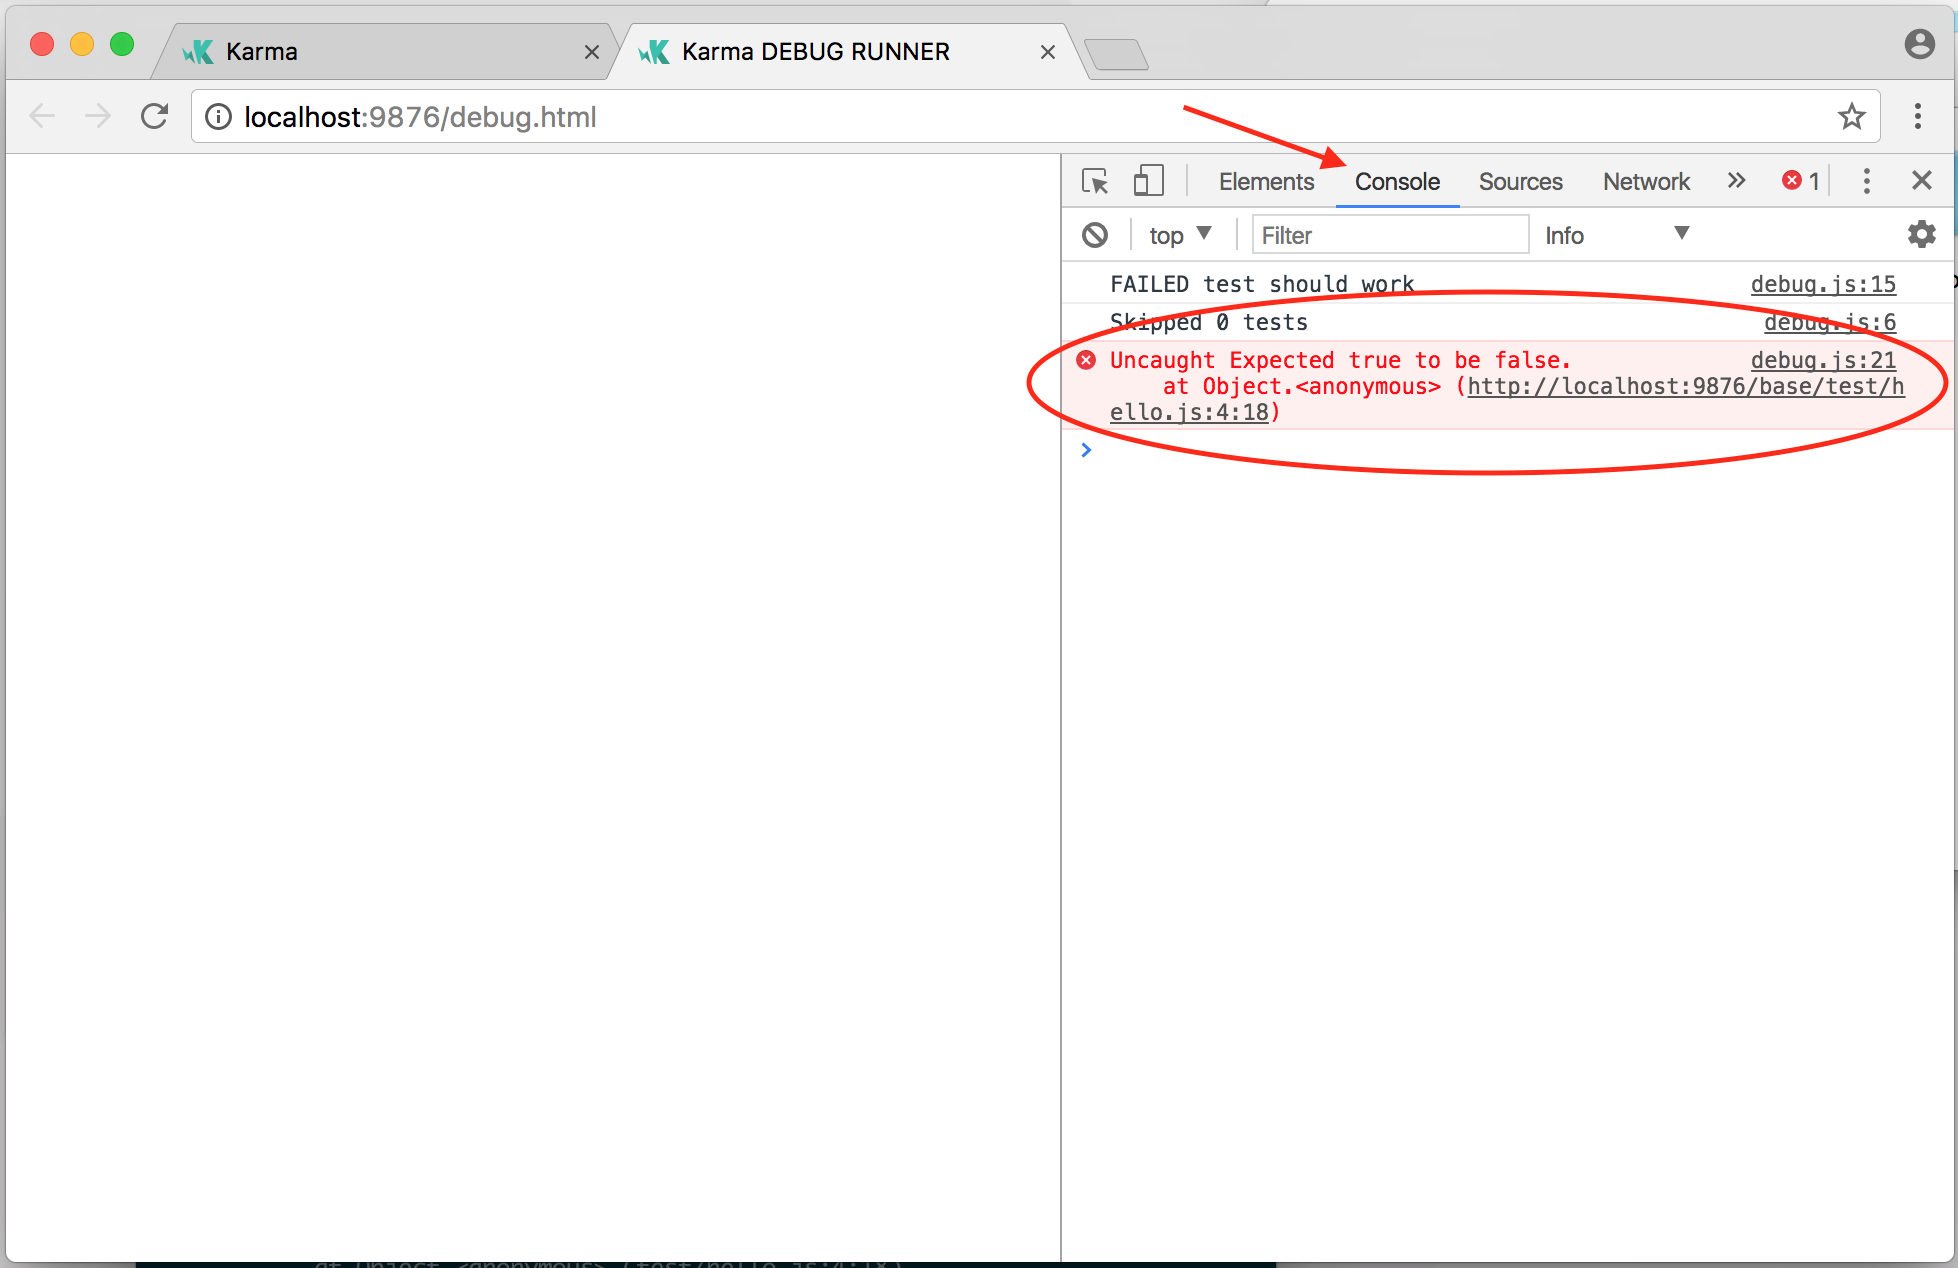
- To see the details of the error, we can open the Debug tool in the browser run by karma, go to browser’s dev tools and open console panel.

 We should see:
Uncaught Expected true to be false.
- So now, following TDD rules, we should make our test pass. Let’s update the test:
describe ("test", function(){ it ("should work", function(){ var test = true; expect(test).toBe(true); }); }); - Karma will now show:
Executed 1 of 1 SUCCESS
- Great! We made the test pass and are ready for the next tests to come. Good luck!